
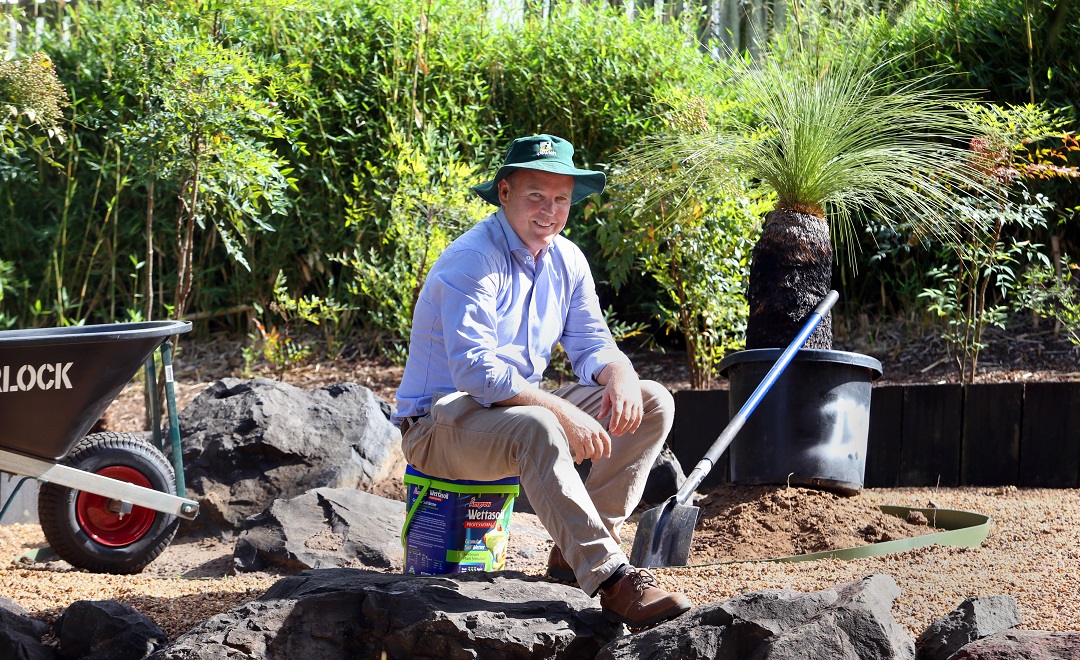
James Hilyard is Ipswich City Council’s Infrastructure and Environment Department, Acting City Maintenance manager.
James is a horticulturalist, arborist and holds a masters degree in sustainability.
In this month’s column, James shares his ideas on some great gardening projects you can do while in isolation.
We may not be able to connect physically with other people at the moment but we can certainly connect with nature, in our gardens, while staying safe in isolation.
Not being able to go out and do the things we have taken for granted has given us the opportunity to get a little creative in our gardens.
Many of us have kids at home climbing up the walls or glued to a screen.
With home schooling starting again next week, I thought I would give you some ideas on how you can take the classroom outside.
These great ideas are inexpensive and you don’t need to go shopping first.
Mostly, you can use what you already have at home.
One of my all-time favourite ideas for a project you can get stuck into that is low cost, doesn’t involve expensive bags of soil, creates a compost heap and results in growing your own food is – growing potatoes without soil.
I like to use old car tyres for this project but you can use timber, rocks or bricks. Whatever you have that can build up around the potato plants as they grow.
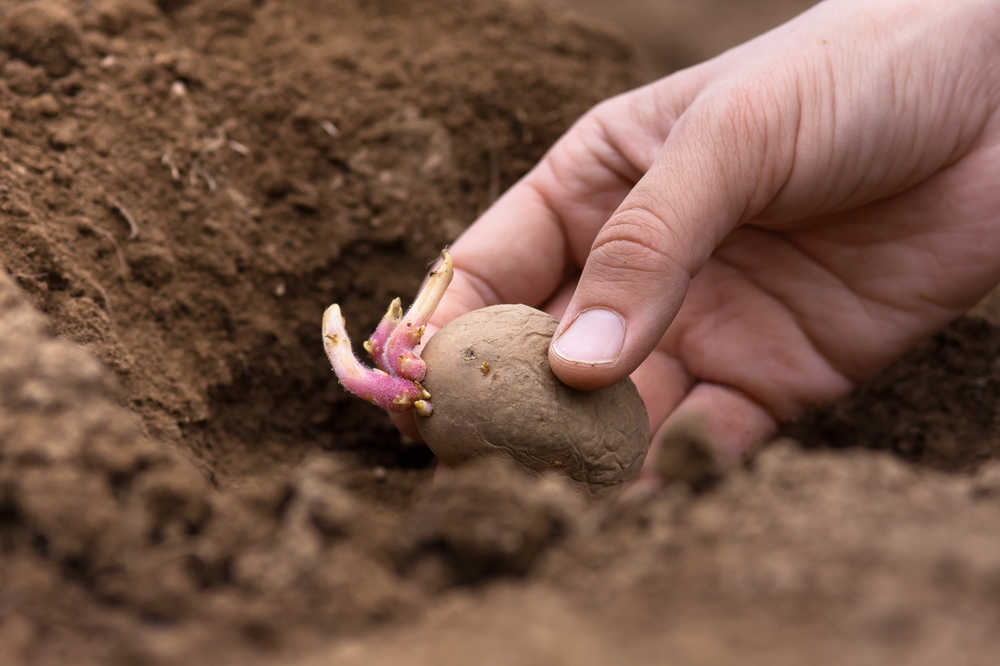
- First place an old tyre on a patch of bare earth that has been lightly cultivated (broken up with something like a rake or gardening fork).
- Place about four seed or sprouting potatoes in the tyre.
- Cover with compost so the top of the potatoes have about five centimetres of coverage
- Water well.
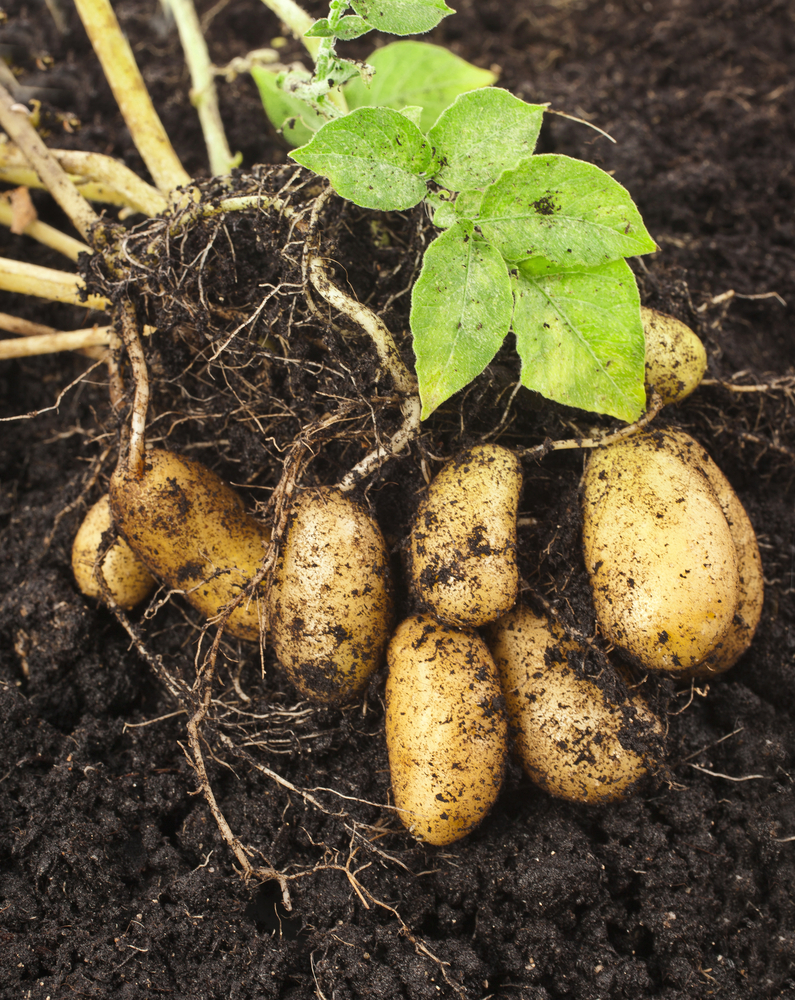
- As the plants grow, add tyres and compost. Cover the stems of the plants with compost as they grow and make sure that no light gets in through the compost to the growing potatoes. You can add soil as well if your compost supplies are dwindling.
- Keep adding tyres and compost. This can become a living compost heap as you can add kitchen scraps to the top layers and they will breakdown during the process.
- Keep watering well and keep adding fertiliser, if you have it.
- I find that between six and eight tyres high is about the limit.
- In a few months the tops of the plants will start to go yellow and dye off. When this happens it’s time to harvest your crop.
- Push the stack over or remove the tyres one by one. You should start to find beautiful, big, relatively clean potatoes. The ones you don’t eat are perfect to use as seed potatoes for next year.
People talk about getting ‘seed’ potatoes.
These are grown specifically to be planted and are disease free.
The problem is they are hard to find and you will need to buy them online.
They are usually the best option but in these times we may need to make do.
If you keep your regular potatoes out of the fridge and at room temperature and in the dark, they are more likely to sprout and if you have access to organic potatoes, even better.
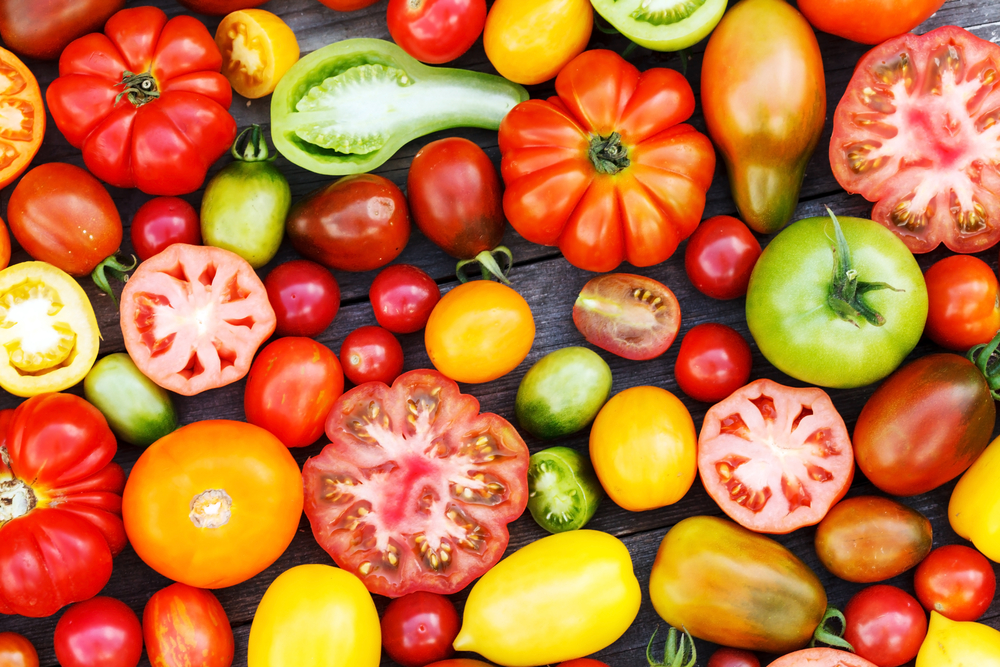
Another fun idea is to collect seed from your fruit and vegetables and use your own seeds to plant in your garden.
There are heaps of winter vegetables to plant at this time of year.
Pumpkins are great if you have a bit of room and lettuce, carrots and cabbages are due to go in now too.
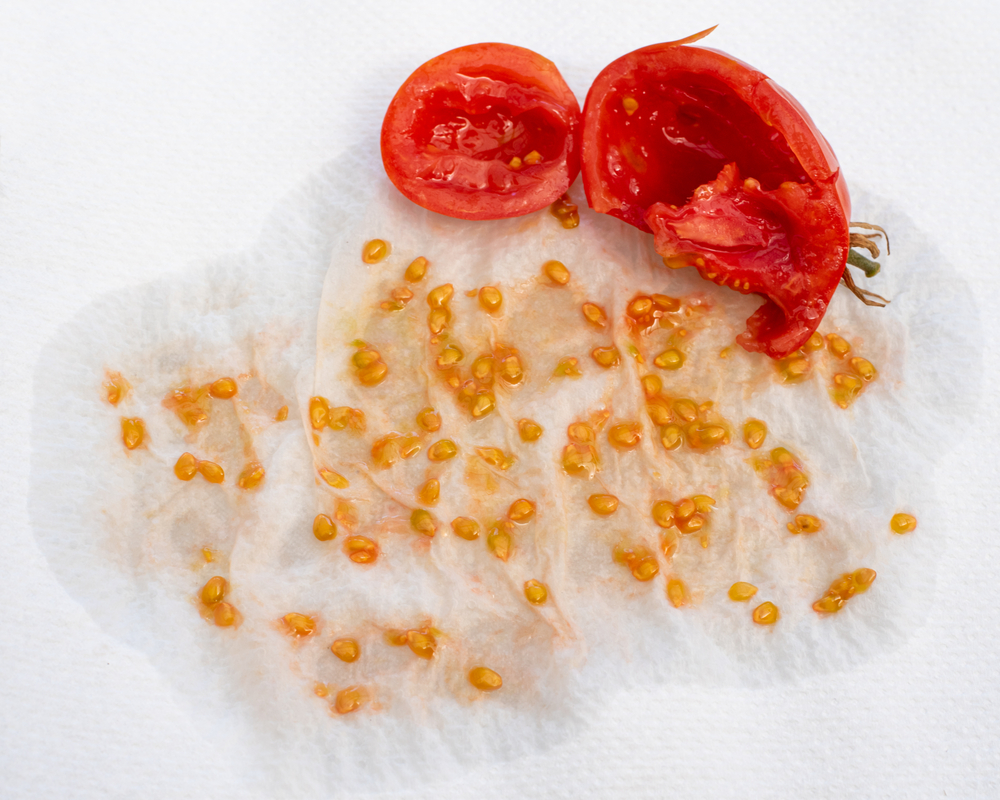
For this example, I have used a tomato.
- Start with a fully ripe or even better, over-ripe tomato.
- Cut it open and scrape out all the seed.
- Put all the seed in a jar with water and give it a light shake.
- Separate the seeds from any pulp and spread them out on some kitchen paper (you could use toilet paper if you have any spare).
- Let them dry out for a day.
- Using scissors cut out clumps of 4 or 5 seeds that should be stuck to the paper.
- Plant the clumps (paper and all) into a small pot or tray (milk carton with the top cut off and a hole poked in the bottom is fine) and cover lightly with fine soil.
- Keep the seeds moist for a few days until they germinate. Moist not wet. Don’t overwater but don’t let them dry out. Two light sprays a day should be enough.
- After a week or so select the strongest one or two seedlings in the pot and using scissors cut the smaller seedlings off at the base.
- Let them establish for another week or two and you can put them in a bigger pot or straight into the vege patch just make sure they will be protected from early frosts as we come into the cooler months.
There are always many things to look at and to learn from in the garden.
Give a magnifying glass to the kids to look at insects or maybe it’s time to pull out the old celery and food colouring experiment to teach kids about capillary action in plants.
Be creative, get your gardening gloves dirty, then sit back and watch your seedlings grow.

Hey Mate
I thought tyres would be highly toxic?