

James Hilyard is Ipswich City Council’s Infrastructure and Environment Department, City Maintenance manager.
James is a horticulturalist, arborist and holds a master’s degree in sustainability.
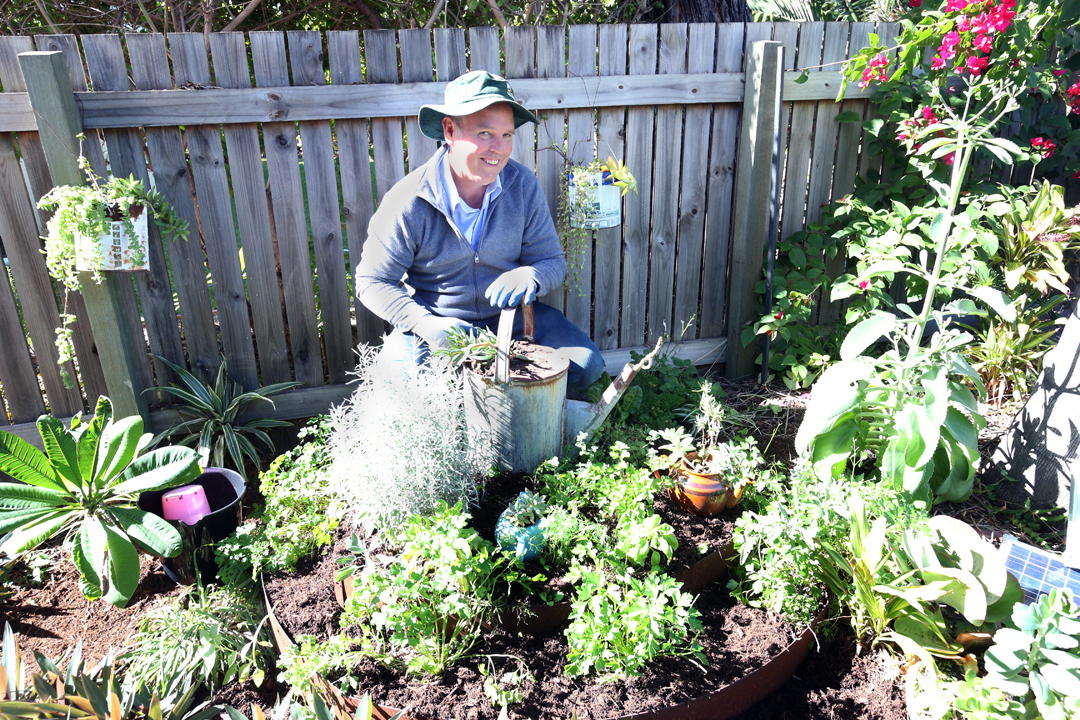
In this month’s column, James shares why you need a herb spiral in your garden and how to build one.
There are many reasons why you should build a permaculture herb spiral and I am going to walk you through how to do it.
For starters fresh herb growing right outside the kitchen door can be picked and sprinkled straight on your favourite dishes.
Think of your favourite pasta dish smothered in your own pesto or a juicy steak marinated in fresh herbs grown a few metres away?
")
Of course there is a large cost saving, as small amounts of herbs from the grocery store can be quite expensive.
This highly efficient vertical garden spiral allows you to grow a large amount of herbs in a small space with the permaculture design creating microclimates.
The water seeps down through the layers leaving the top zone drier for herbs like rosemary and the bottom wetter for herbs that love water like mint and cress, although you should be careful of mint as it spreads.
It’s easy to build and you can use recycled materials too.

How to build a permaculture herb spiral
Firstly you will need some soil. You want to use probably about three or four barrow loads of garden soil. Not straight compost but a friable run of the mill ‘garden variety’ dare I say it ’dirt’. The reason we want regular soil is for a couple of reasons.
A ‘regular’ soil will generally have some clay in it, sometimes the physical properties of clay make it difficult to grow plants in but clay has loads of trace elements and these are essential for healthy herbs.
A soil with clay in in will also hold its shape better than a soil high in organics.
Soil with a high organic content also promotes lots of leafy growth. When we are growing herbs we don’t necessarily want this fast leafy growth.
Herbs are like growing wine grapes, if they grow more slowly and a little more ‘tortured’ they tend to have more flavour.
Hydroponically grown herbs that you get from a supermarket will always look nice and fresh and leafy but the flavour will be less intense.

Collect the materials you are going to use to build the spiral.
You want to keep the garden at a height of about a metre to a metre and a half.
The best way that I can describe the next process is to think of a snail shell shape lying flat on the ground.
You want to achieve a spiral bed starting at the high spot and spiralling down.
Think of building a road for a toy truck that was spiralling down a steep mountain.
This ‘road’ will become your watering channel and you can grow your plants either side of the road depending on the needs for water and light.
I prefer to use rocks to hold everything in place and the rocks become part of the design, some people use bottles or bits of wood or you can make it more formal and use bricks and pavers, but I prefer rocks.
The underlying principle of the herb spiral is that when you water your plants, you start at the top and as the water flows down the spiral it slows down and spreads out.
This means you need to strategically place your plants based on their hardiness and drought tolerance.

Start at the top with your toughest herbs, generally plants with thick leaves or grey foliage are drought tolerant, so plants like Rosemary, Sage, Curry bush and Bay are good ones to put in the top third of your spiral.
Then come the intermediates, Oregano, Thyme and Catnip are in this zone.
Lastly you plant the herbs that will benefit the most from an abundance of water like Parsley, Mint, Lemon grass and chives.
Intermittently plant some tomatoes, lettuce and other vegetables, mix in a few flowers like nasturtiums and California poppy, and you have a work of art.
You can even put in a little pond at the bottom to catch the water if you like, just to top it off.
The school holidays are right around the corner and this is a great project to get the kids outside and a chance to build something amazing at the same time.
Happy gardening.