
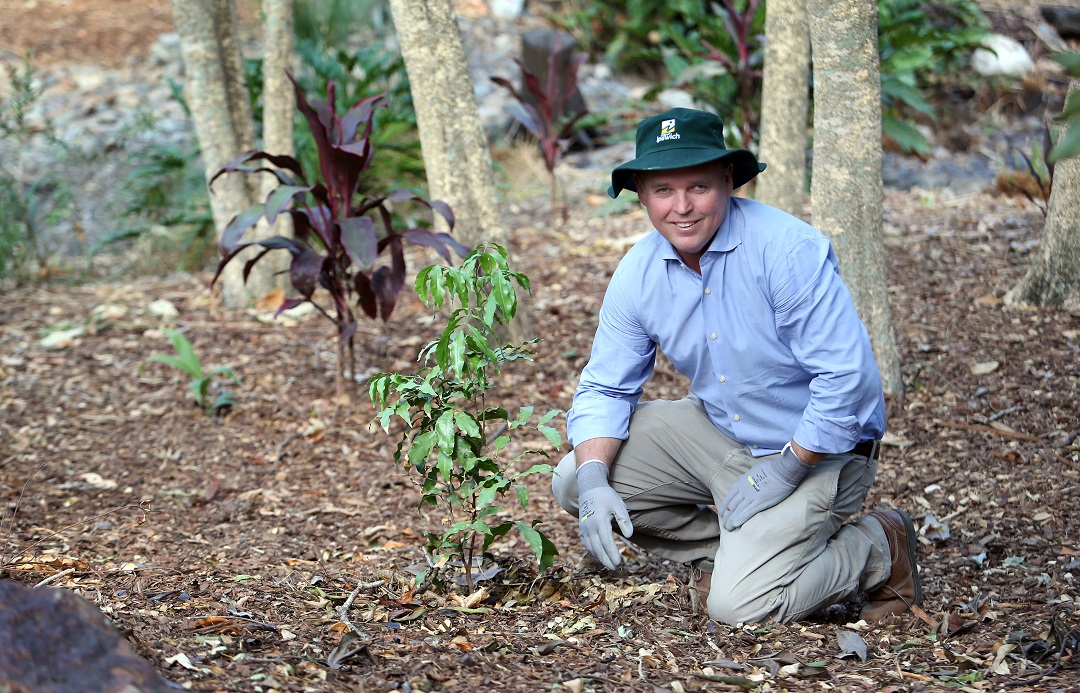

James Hilyard is Ipswich City Council’s Works, Parks and Recreation Department Principal Officer (Parks and Sport).
James is a horticulturalist, arborist and holds a masters degree in sustainability.
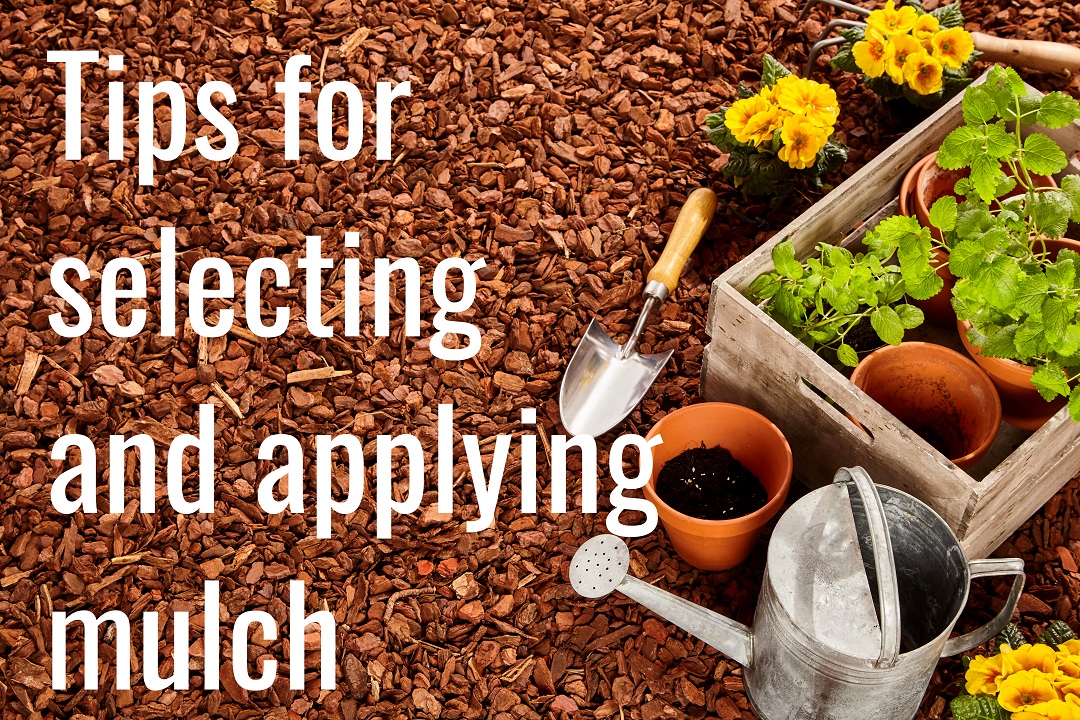
In this month’s gardening column, James shares his tips for applying mulch.
If you’re a gardener like me I am sure you have found this summer’s dry spell to be challenging. Little or no rain, lots of hot dry winds and endless sunny days that have parched the soil and made even the toughest of plants struggle.
When I come home from work I would rarely make it to the front door without seeing a plant or tree that looks sad and thirsty.
It’s that battle to keep your garden going and not losing plants to the elements whilst trying to keep your water bill from skyrocketing.
Do you reach for the hose or do you risk another day and hope that the free water from the sky will finally come and save your precious plants? A quick look at the forecast has usually had me reaching for the hose and hoping that the dreaded water bill will be less than I fear it to be.
Mulching saves water by trapping it in the soil and not letting it evaporate and also keeps weed seeds from germinating.
Mulching is not just a matter of spreading woodchip around your garden and hoping for the best.
There are many different types of mulch available to the Ipswich gardener and these basically can be broken down into two different categories.
The first group are your organic type mulches, anything from straw and hay to woodchips and barks. These are the most common types of mulches and tend to be the most cost effective.
The second group are your stones, rocks and gravels. These tend to be more expensive and used in more decorative areas. The great advantage of using a gravel mulch is that they last forever and don’t breakdown and blow away so the initial expense may work out to be cheaper than other mulches over time.
- If it’s an organic mulch make sure it is well aged or composted. Fresh woodchip out of an arborist’s truck is not good for your garden. It needs to be piled up and ‘aged’ for a while before it can be installed. All of the saps, resins and tannins in the mulch need to be leeched out before it is put near your plants. If you put it on ‘fresh’ it will be detrimental to your soil and it can even kill your plants especially if they are yet to establish. If you heap it up you need to turn it over every now and again to ensure that the outside layer gets well composted too.
- Don’t mulch up to the stems of plants or trunks of trees. Every day I see this mistake and it is a constant message that I try to get out to gardeners. If you mulch up to and around the base of trees and shrubs you risk the chance of a collar rot developing and this will kill the plant. You need to leave a clear ring around the base of the plant or you risk killing it with kindness.
- If you are in a high wind area or mulching on a slope use a mulch that will help stick to the slope by meshing together. Mulches like your large shredded barks work best rather than your smaller finer barks or woodchip.
- Get the right depth of mulch. Too little or too much are both undesirable. Try to aim for about 75mm to 100mm depth of mulch. I like to put on about 100mm and find that it quickly settles down to a depth of about 75mm. This is the ideal depth to save water and keep down weeds. Any less than this will not really be effective and you will be disappointed with the results. Stone and gravel mulches can be applied at 50mm for the same results. Never use plastic under a mulch. This is disastrous for your garden and you plants will never grow properly. Too much mulch also can be bad news for your soil as it can restrict the amount of microbial activity in the soil by suffocating it so keep your mulch depth within the desirable depth of between 75 and 100mm.
- How do you know how much you need? If you spread mulch at a depth of 100mm it makes it easier to work out how much mulch you need to buy. Mulch can be bought easily in bags from garden centres or hardware stores and if you only have a small area to do you can load up the hatchback and go for it. But if you have a big project and want to buy in bulk to save money. It’s always best to ring your supplier to see what size trucks they have and how much mulch you can get in one load. This can help you plan your work and keep you delivery costs as low as possible.
- Fertilise and water after mulching. Any organic mulch you use, no matter how well it is aged and composted, will have a slightly negative affect on your plants nutrition. It is an effect called Nitrogen tie up. Basically what it means is that when you apply mulch to a landscape a proportion of the microbes in the soil will start to work at breaking down or decomposing the mulch. It is the same process as composting. While this is happening the microbes are not available to provide nutrients to the plants and sometimes you can see a yellowing of the leaves or stems or chlorosis of the plant. This can be countered by applying a light fertiliser and things quickly get back into balance. The benefits of mulching far outweigh any disadvantages and over time you can quickly see faster growth and healthier trees and plants in a mulched garden compared to an area without mulch. I always like to mulch after rain or a deep watering to trap the water in the soil.
- Grass clippings are not mulch. Grass clippings are a valuable resource for any gardener to use as an addition to a compost or a worm farm but only in small portions and in thin layers. Piling up grass clippings around the base of trees or in heaps in the garden are very poor practice. The clippings make for a very dry, impenetrable barrier for water and air and are not helping your plants or trees grow in any way, shape or form.

Thank you for the mulching tips, I am not a pro by any means but I am trying to to mulch areas in my front yard. Did well last summer but want to redo my front yard area. Look forward to more tips.
Thanks again.